
In this guide, we will learn how to capture the moments in Ragnarok Origin. This will guide you through the shooting system to take some pictures.
Photo shooting is a system that is opened by completing the quest 'Visit the Professor" way back when you are still a novice in the Novice Academy.
Camera button location
Shooting mode
As explained in the 'Basic Operation and UI' guide, you can take a picture by pressing the camera button on the chat window.

You can change to normal shooting mode by touching the normal shooting icon.

Touch the Selfie mode icon to change to Selfie mode.

Touch the free mode icon to change to free mode.

You can take pictures of any angle and location by moving your phone.
Shoot and save

When you find what you want to capture on the camera, take a picture with the shoot button.

You can zoom in and out through the slide bar on the left side of the screen.
If you look at the picture taken like this, you can see two buttons on the lower right.

Press the left button to save it to your device or you can save it to your Ragnarok Origin album by pressing the right button.


Album
From the menu that appears by touching the menu icon on the right side of the screen.

If you touch an album, you can check the photos stored in the album.


Emoji and motion
In shooting mode, if you touch the emoji icon at the bottom right of the screen

When taking pictures, you can use emoticons and various expressions.

Choose the emoticon and expression you want to take a picture of.
If you touch the Action tab, you can see the Motions you can do.

The first row is a pose that can be taken solo, and the second row is a pose that two people can take together.
In the case of posing together, you may need to achieve a certain level of intimacy.
Sticker and Frame
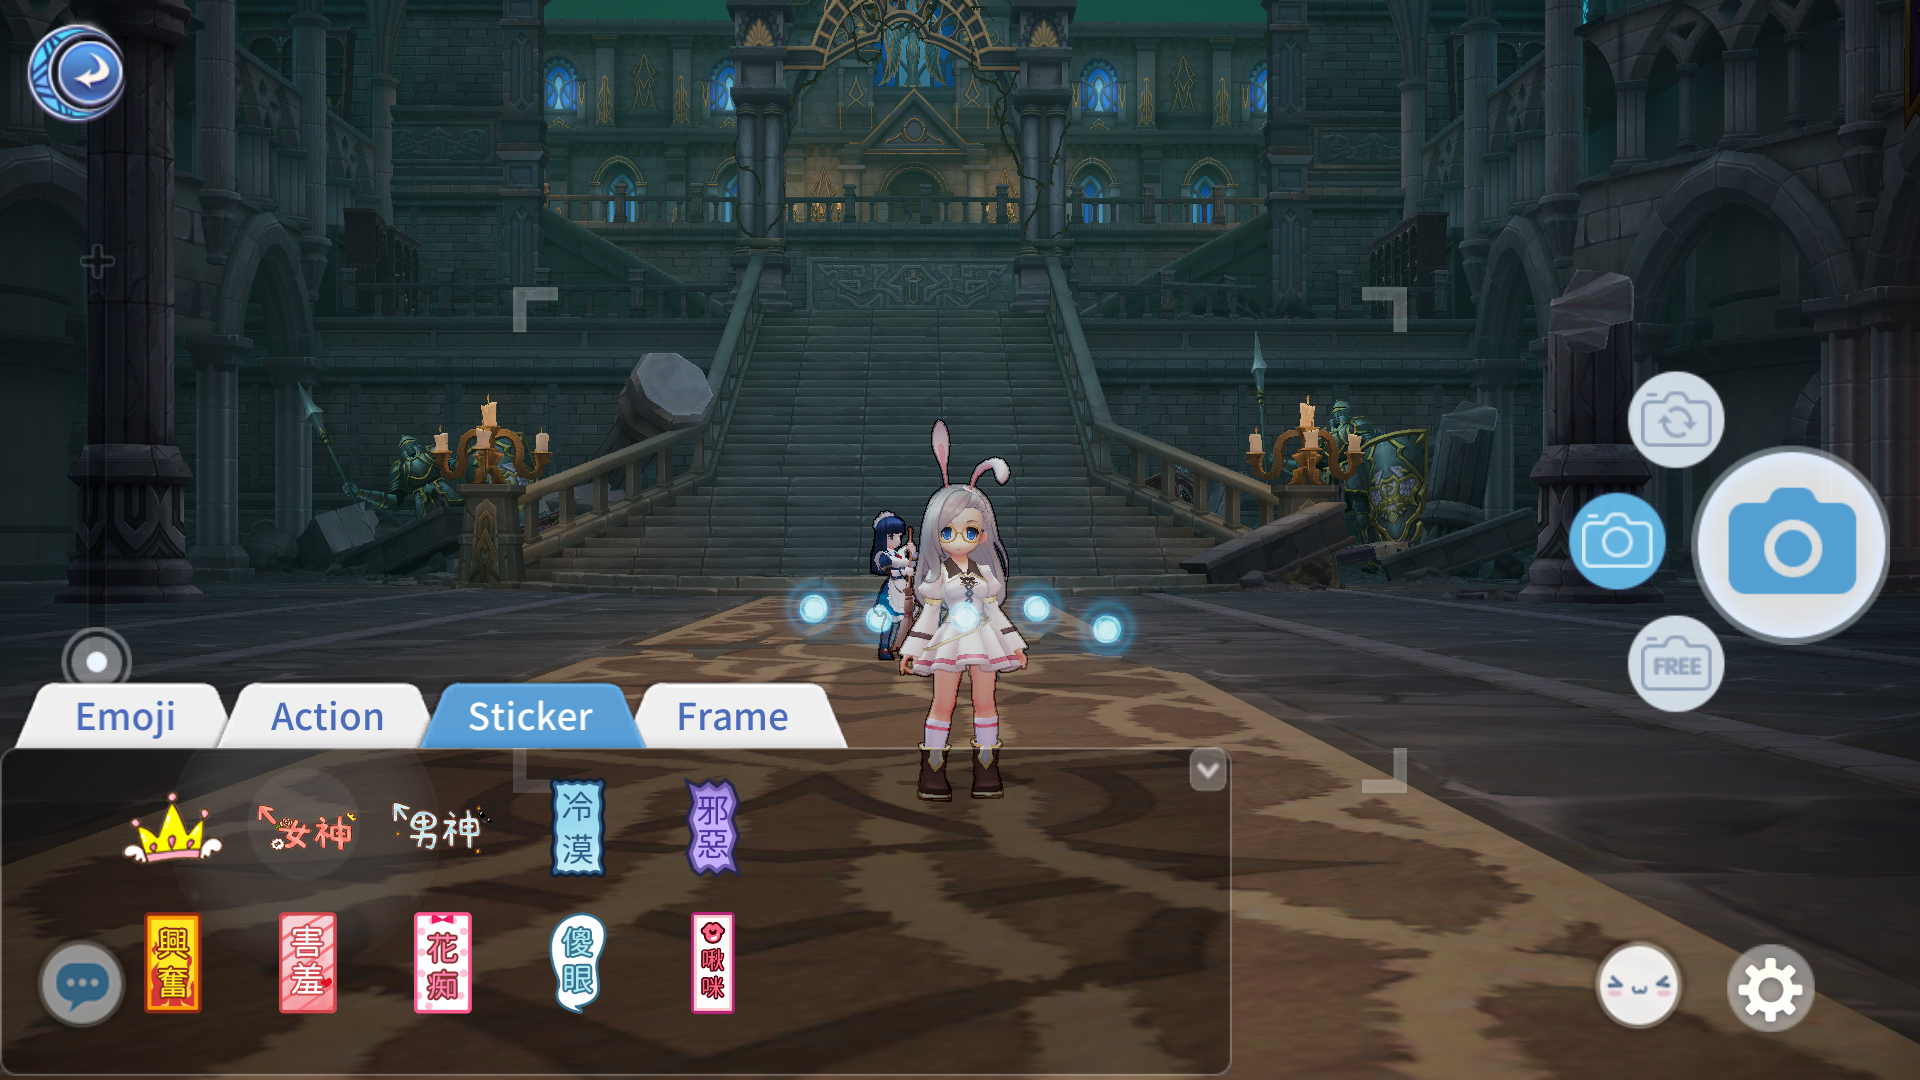
You can add stickers and frames by touching the sticker icon on the right side of the screen.

Stickers can be resized and positioned, so feel free to decorate your photos!

In the case of the frame, it decorates the frame of the photo.

Speech balloon
At the bottom left of the screen, there is a chat input window so that you can float a speech bubble above the character. You can enter up to 30 characters.

Settings
You can open the settings window by pressing the Settings button on the right side of the screen.

By unchecking, you can prevent other adventurers, monsters, or NPCs from being photographed. You can also remove the UI to capture the full screen.
In the next guide, I will tell you about the Rest Bonus
No comments:
Post a Comment