Table of Contents:
- Recommended Sets for Constellation Tower
- Floor 1
- Floor 2
- Floor 3
- Floor 4
- Floor 5
-------------------------------------------------------------
1. Recommended for Constellation Tower
For normal difficulty
Weapon refinement +15
Armor refinement +15
Holy Medals +2
For hard difficulty
Weapon refinement +17
Armor refinement +15
Holy Medals +5
For hell difficulty
Weapon refinement +20
Armor refinement +20
Holy Medals +10
- It is helpful to include at least two ranged dealers when forming your party.
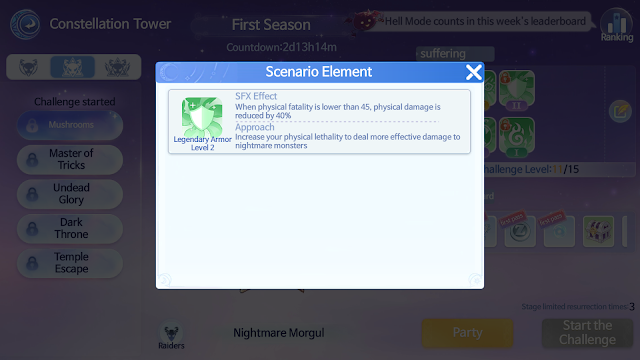
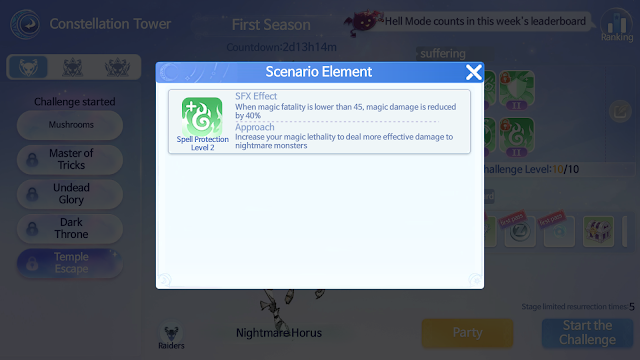
- In general, it is recommended to use versus core "shield of light" and damage reduction settings that match each boss.
- Raydric Card is recommended for all floors.
--------------------------------------
2. Raider: Morgul
Both Gravity Down and Mushroom Explosion are neutral attributes, so the Raydric card is good.
After hitting the sealed mushroom, pull MVP to the corner of the map. 3 o'clock or 5 o'clock on the map.
It is very painful if the poison plate accumulates, so have the dealer remove black poison mushroom and Red exploding Mushroom.
You have to take advantage of the fact that Charge Mushrooms don't reach the end of the map and that Gravity Shock is blocked by walls.
In the case of a tornado, it is recommended to stand within a triangle or avoid a 'C' shape.
If you dodge from the marked area, the tornado may fly farther than the marked area and you may die.
The damage reduction setting is very important as the damage of Gravity Down increases more after the mushroom grows.
--------------------------------------
3. Raider: Owl Baron
First, deal with the 4 Griffons before opening the box.
If you don't remove them in advance, the difficulty will increase as 6 more will attack together with 2 more later.
If the basilica is not level 5, one person will be killed by Soul Blade.
You can also counter it by wearing a goblin and using a heal and Yggdrasil Fruit.
When the animal transformation pattern is over, recast the safety wall so that the main dealer does not die.
The rest of the dealer will take out the 2 griffons first.
After that, it can be cleared easily.
--------------------------------------
Since the sucking skill and the late ranged skill are both dark attributes, it is recommended to wear the Bathory card.
It is also recommended to wear a Giearth card to prevent fear.
Remove 7 and 1 o'clock pillars first because Raydric Archers are summoned from these pillars first.
After that, move and pull Doppel at 11 o'clock and position yourself at 12 o'clock.
It is better to set the sub-dealer from the sides rather than behind the boss because of the sucking skill.
The tip at this time is that if the main dealer uses a construction Eddga card, the holding power will be much better.
At 70% or less, the boss starts summoning towers.
From this point on, sub-dealers must quickly demolish nearby towers.
Archer's arrows are also blocked by the safety wall, but if the number increases, the safety wall cannot handle it.
Demolition of the tower takes precedence over the boss if the dealer's damage is low.
If the tower demolition is too difficult, the main dealer may try to switch to tower demolition. (Main Dealer Suicide)
It uses a ranger that emits a circle from 40%, but it is very dangerous if the position is not clear.
When attacking the boss, it is recommended to attack with a certain amount of stickiness.
If an arrow appears above your head in the middle, you need to stick to the wall while looking at the boss to skip the stun briefly.
This pattern can kill the main dealer, so the main dealer should fight against the wall if possible.
Depending on your firepower, this can be a long fight, so all party members must focus until the end.
--------------------------------------
5. Raider: Bijou
In the beginning, the entire range of the screen is water attribute, so it is recommended to use a swordfish.
It's not difficult, but it's a time attack.
You will still be pushed if you are standing inside the safety wall.
You have to deal as much damage to the boss as possible before the dash comes out.
If the damage is a bit low, blocking the dash with a basilica once in a while will also help.
--------------------------------------
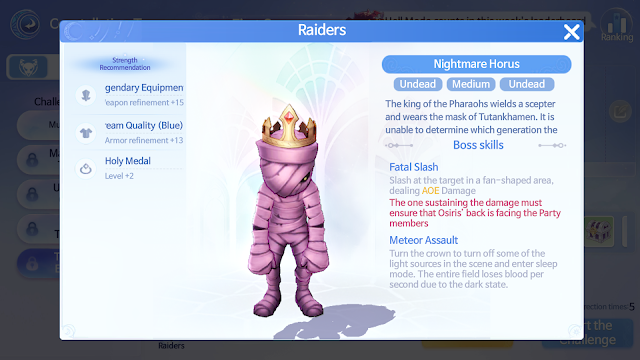
6. Raider: Horus
If poisonous mushrooms debuff is added, there is a risk of dying in one hit when transforming into Antasha.
Since you have a fear skill and need to equip Giearth, it is recommended to put silence and use a potion.
In addition, Antasha's HP is 1000, so even if the healer becomes Antasha, the dealer can save the Healer with a Vitata card.
Aspersio is removed after Antasha transformation, so it needs to be recast immediately after the pattern.
It is also helpful for physical dealers to go equipped with a fire element converter.
Since the coffin drop skill falls to one person, you can lay that person down and clear it with 4 people.
Even if you live, you will die sooner or later.
Remember that the lighting pattern triggers a total of four times 90% / 80% / 60% / 30%.
Horus will cast a large AOE which can instantly delete someone. After the AOE, Horus will cast a skill with semicircular range, if you can avoid these two skills after the lighting pattern, you can clear it without difficulty.
This is the strategy from Normal to Hell mode.
Let me know if this helps.
--------------------------------------
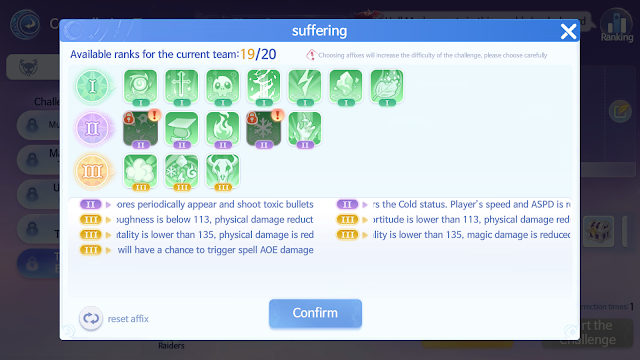
Debuff Affixes and how to counter it
For Hell Mode, you can exchange some of the debuffs.


No comments:
Post a Comment